A few followers requested a tutorial for my pinwheel pincushions. Here you go.
What you need:
2-2.5''x2.5'' squares from white (solid) fabric
2-2.5''x2.5'' squares from printed fabric
2-1.5''x3.5'' strips for borders
2-5.5''x5.5'' strips for borders
1-5''x5'' square for the back
*You will use a 1/4 inch seam allowance. The finished size is approximately 4.5" x 4.5"/11.5cm x 11.5cm.
I used white for this pincushion because I had small scraps available in white. You can use any colour you like. In fact, choosing a contrasting colour for borders makes it look even cuter. You can have a look at the
previous ones I made for an idea.
How to make it:
First, lay your white squares on your cutting mat and draw a line with a disappearing ink or water soluble ink pen as shown in the photo.
I lay my squares so that the corners line up with one of the lines on my cutting mat. This makes the drawing much easier.
Lay your white square on the printed fabric square as shown in the photo below, pin them together. By using your foot as a guide, start sewing on one side along the line. When finished; lift the foot up, pivot your squares and sew along the other side the same way. Repeat this for the other pair.
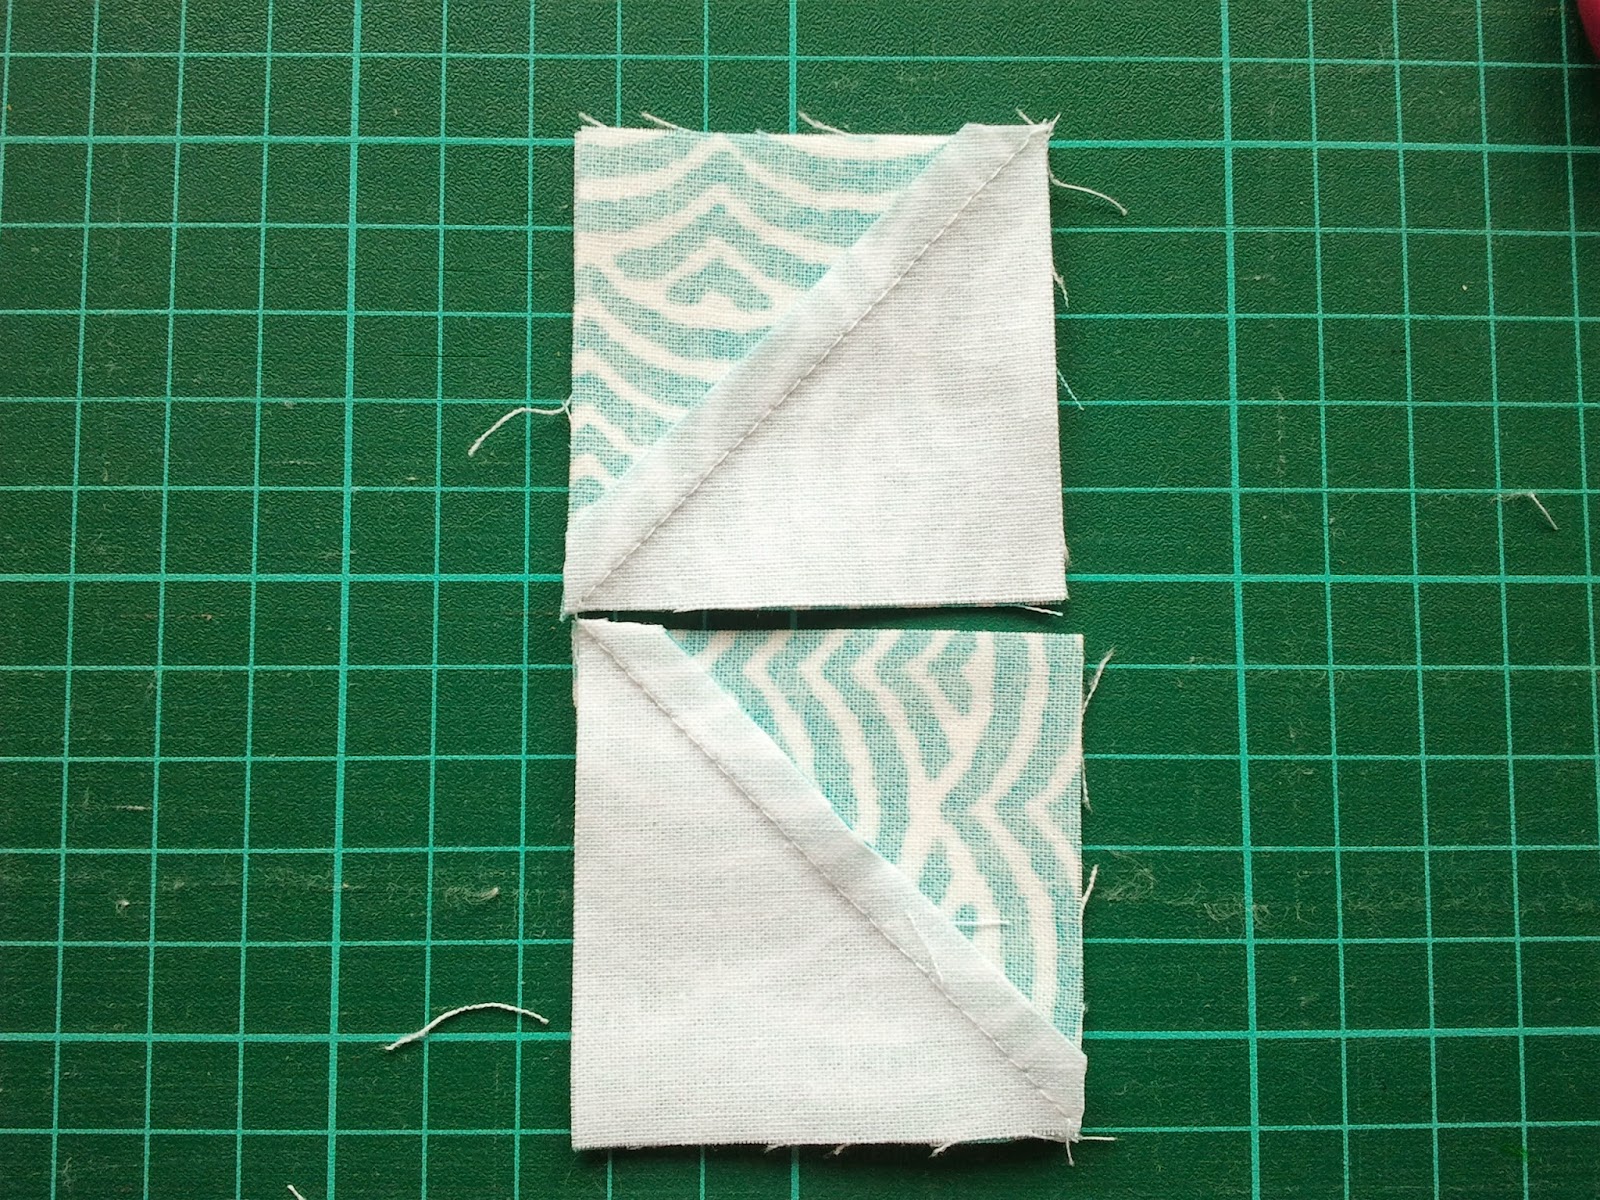
Give your squares a press and take them to your cutting table. Now, cut them in half on the line you drew.
Don't worry if the squares/triangles didn't turn up exactly aligned. We will trim the whole thing later so this won't matter.
Now, press your triangle pieces open, trim the little ears and lay them to form a pinwheel like this.
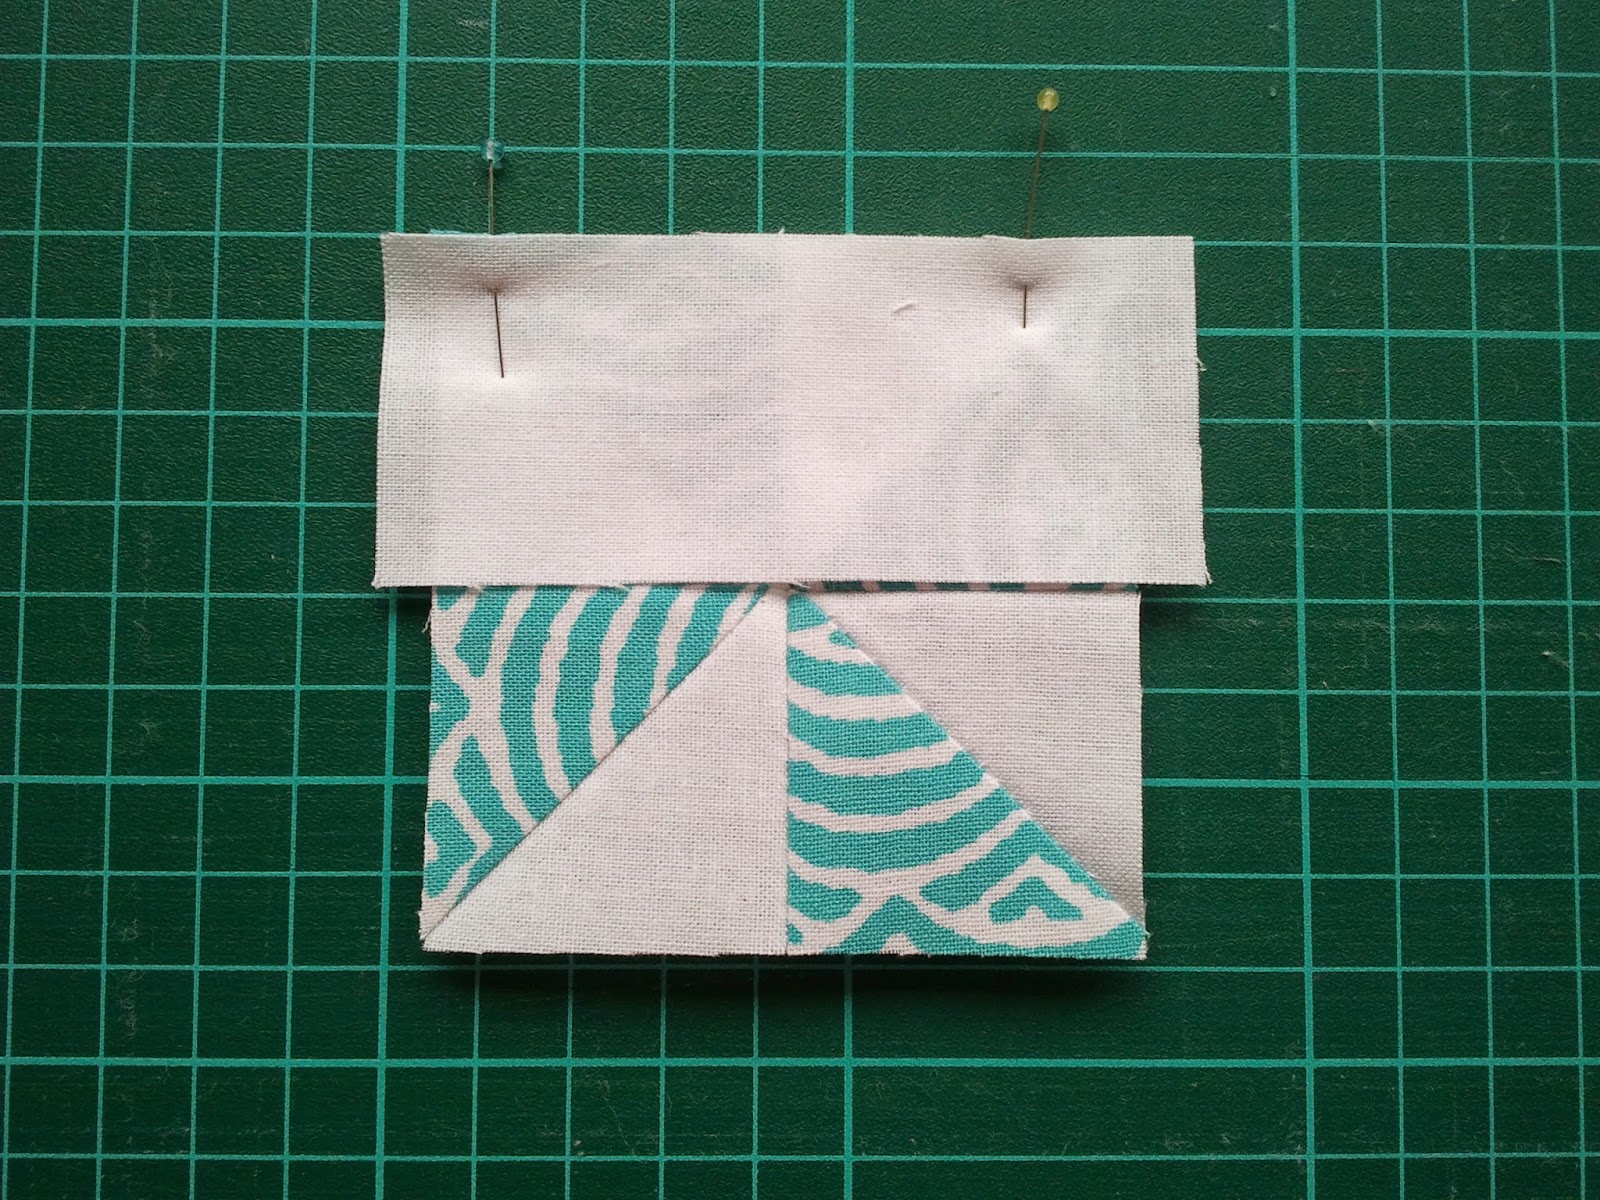
As the next step, we will sew the pieces in two groups- top and bottom. Now, flip your right pieces on to the left pieces, pin and sew them. Make sure that the pointy ends and the sewing lines overlap.
Press your seams first and press the pieces open.
Flip the top piece down on to the bottom piece. Pin carefully to make sure the pointy ends meet and the sewing lines in the centre overlap.
Sew them together. Give it a press and iron it open. Now it is time to trim it down to 3''-its final size before the borders are added. This is how I trim:
Lay your pinwheel on your cutting mat. Because the trimmed size will be 3'', you need to lay your ruler's 1.5'' line on to your square's sewing line in the middle and cut the excess fabric.
You need to repeat this until all the sides are trimmed. You will end up with a 3'' square like this:
Adding the borders:
Now get one of your 1.5''x3.5'' strips, pin it to your pinwheel as shown in the photo and sew them together. Using a slightly longer piece for borders ensures you that the border doesn't end up too short due to shifting of fabrics when sewing. Iron it open and repeat it for the opposite side.
Take your block to the cutting mat, align your ruler as shown in the photo and trim the excess fabric.
Now we will sew the 1.5''x5.5'' borders and trim our block by repeating the same process.
Give it a good press and your block is finished! Your square should measure 5''x5''.
Now, get your 5'' square you cut for the back of the pincushion and lay it on to your block-or visa versa. You will need to leave a 2.5'' opening to turn it inside out; so, start sewing close to a corner, back stitch at the start and the end.
I need to practise my stitching on Photoshop!
Turn the pincushion inside out, fold the seam allowance of the opening inside, press it; you are ready to fill it!
Fill it with polyester filling; pay attention to the corners. Make it really puffy. You can use a chopstick for the corners or something else that wouldn't pierce through the fabric. Hand stitch or machine stitch the opening. I machine stitched mine.
To do this, push all the filling away from the opening as much as you can and sew the opening. Once you finish sewing, give it a shake, pat it, wiggle the filling around and your pincushion is ready!
May it keep all your pins in one place!
Please let me know if you have any questions.
Happy sewing!
Nurdan


Thanks for the tutorial. Going to try to make one for my mum :)
ReplyDeleteThanks Leonie. Please share your photos with me!
Deletethis is so cute! I love it!
ReplyDeleteThank you! xxx
Delete